

openclaw (default) for full configurability, hermes for an opinionated smoother out-of-the-box experience, or super-builder (beta), a headless coding agent built for issue-board work. You pick one when you create the agent. The default OpenClaw engine is documented at openclaw.org; for the differences see Concepts → Engine.
New accounts get a 10-hour free trial of agents — no payment and no LLM key required, thanks to the free-tier model available throughout your account. After the trial, agents require a paid plan. Upgrade here.
Get your first agent running
It takes a couple of minutes. You’ll pick an LLM provider, create the agent, and start chatting.1. Pick an LLM provider
Your agent needs an LLM to think. You have three options:- Free tier — no key, zero config. Select the Free tier card in the Create Agent wizard and skip provider setup entirely. Your agent runs on a shared, rate-limited model (OpenRouter’s free pool, e.g.
openrouter/free) that’s available throughout your account. Expect lower quality, smaller context, and occasional rate limits compared with a paid provider — but it’s a real agent, free, today. - Pinata-hosted models — no key, pay as you go. Connect the Pinata card in the Secrets Vault. It’s first-party, so there’s no API key to paste — connecting just turns on Pinata Inference for your account. Your agent gets full-quality hosted models, billed per token from your credit balance. The same models are also callable directly over an OpenAI-compatible API.
- Bring your own key. Go to the Secrets Vault. At the top of that page you’ll see a row of provider cards: Anthropic, OpenAI, OpenRouter, Venice, and Custom. Click Connect on whichever one you use, paste your API key (or run through OAuth if you’re using an OpenAI Codex subscription), and save.
2. Create an agent
Head to My Agents and click Create Agent. You have two paths:- Start from a template — fastest. Templates come pre-wired with skills, settings, and a personality. Pick one from the Marketplace (others’ templates) or My Templates (your own). Add the secrets it needs, deploy.
- Build from scratch — full control. The wizard walks you through naming the agent, choosing an Agent Engine (OpenClaw, Hermes, or Super Builder), picking an AI provider (including the free tier), a personality preset, skills, and optionally channels before deploy.
Plans cap how many agents you can run at once. If a deploy fails with “Agent limit reached”, delete an agent you’re not using or upgrade your plan.
3. Start a conversation
Say hello. Ask it to write some code, summarize a webpage, or set up a workflow. It can use a terminal, edit files, search the web, and call any skills you’ve attached.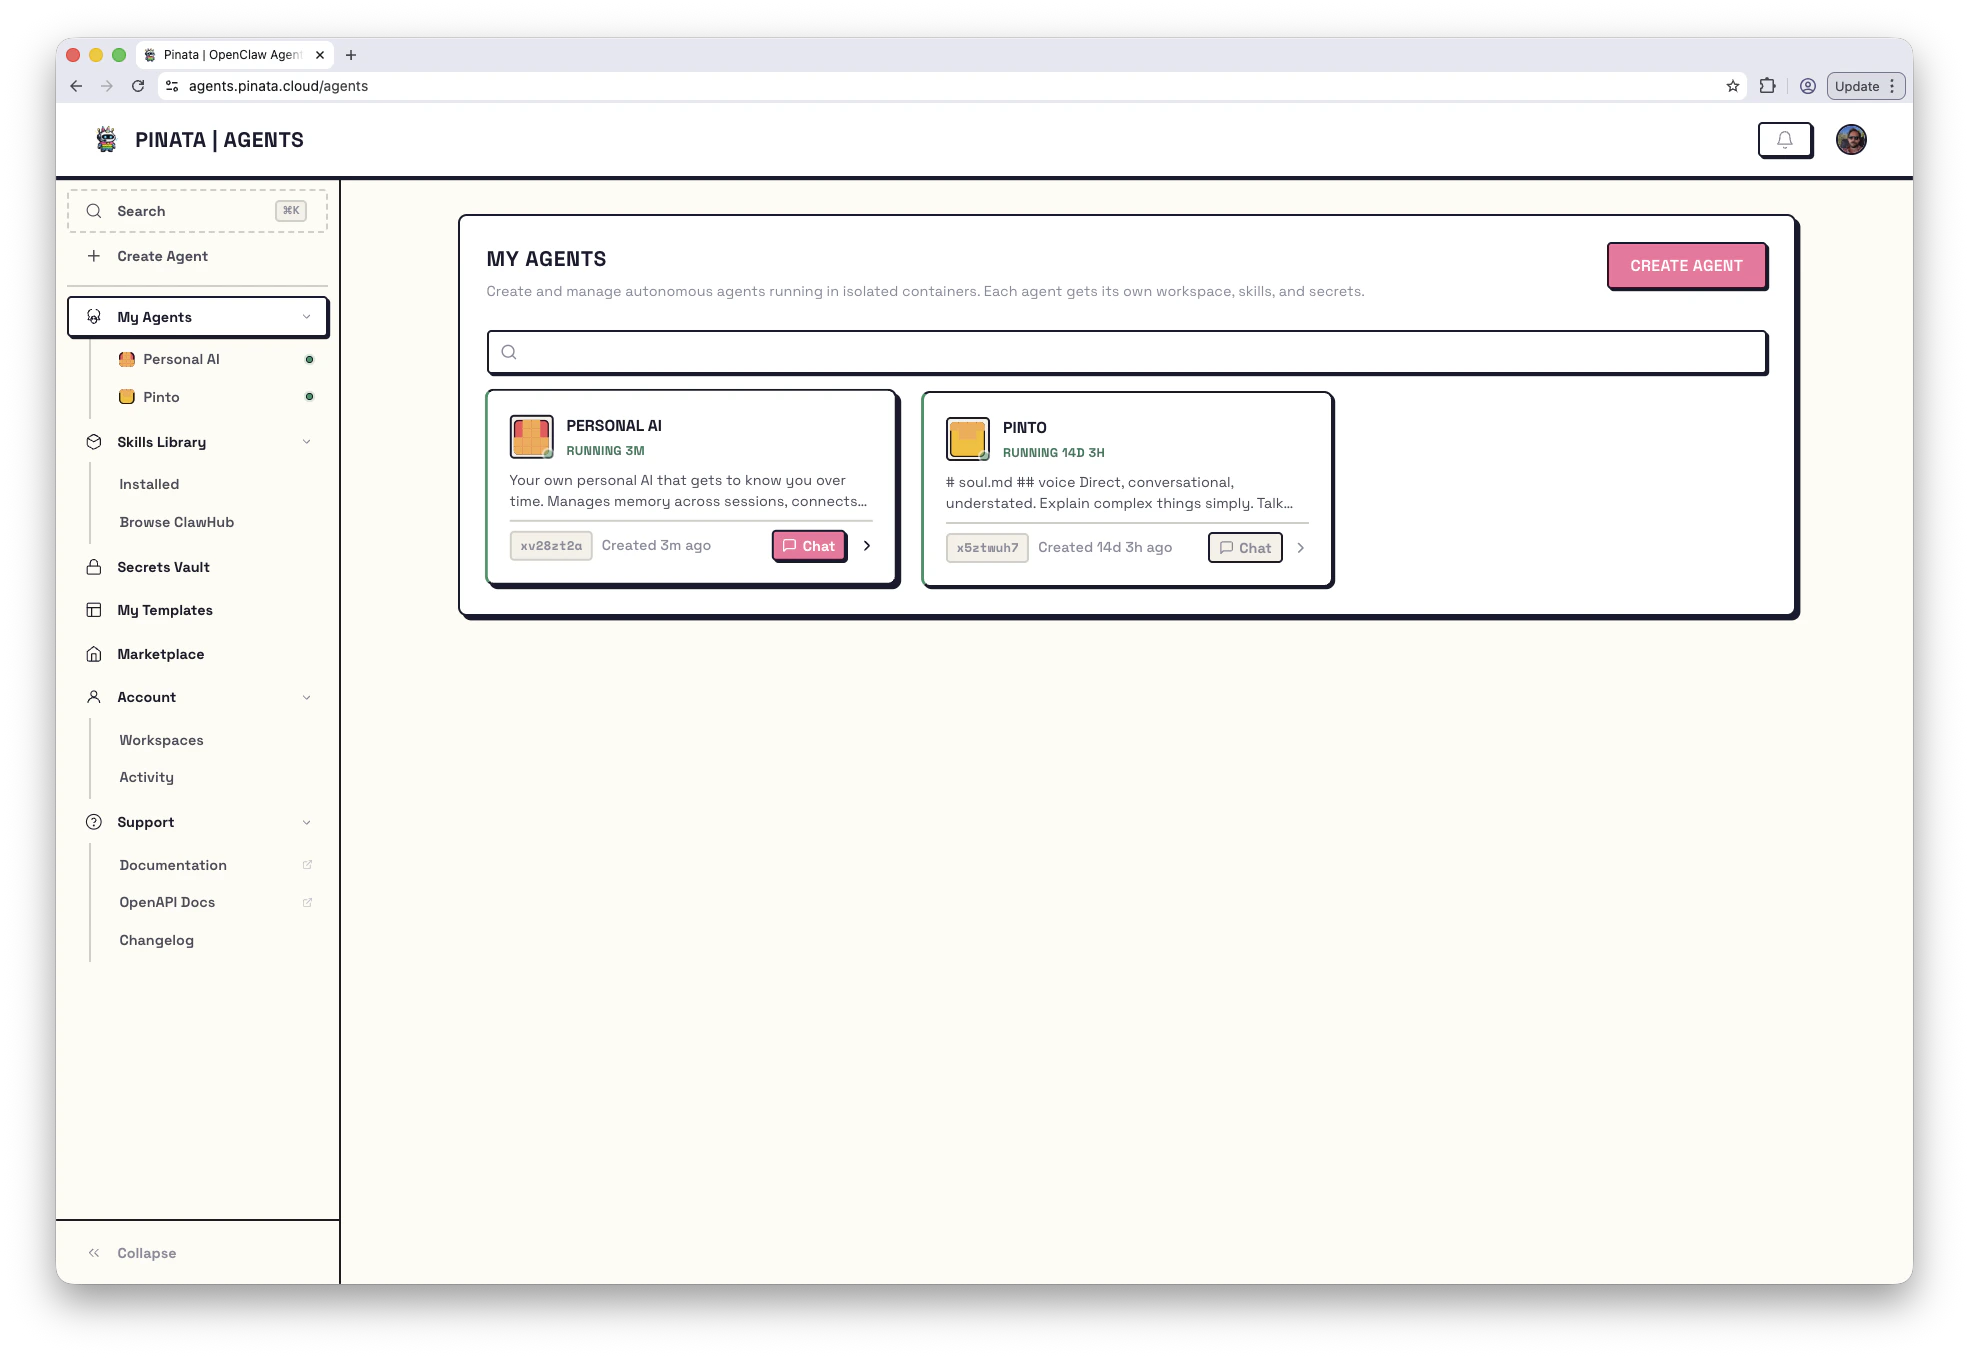
Finding your way around
The sidebar on the left is the same on every page. Top half is the workspace itself; bottom half is account and support.The agent dashboard
Click any agent and you’ll see tabs across the top of the page. Each tab is a slice of how the agent works:- Chat — your conversation with the agent
- Channels — wire it up to Telegram, Slack, or Discord
- Files — a file browser for the agent’s container, workspace snapshot history, content diffs, git URL
- Skills — capabilities attached to this specific agent (pulled from your Skills Library)
- Secrets — provider connections and env vars this agent can see
- Models — which models from your providers it’s allowed to use, and which is the default
- Routes — path routes and custom domains for any web service it runs
- Tasks — cron jobs and one-off scheduled prompts
- Console — a terminal inside the container
- Logs — real-time log stream
- Danger — full configuration overview, plus restart and delete
Editing the workspace locally
Your agent’s workspace is a git repo you can clone and push to.Working from the terminal
Everything in the dashboard is in the CLI too:Going deeper
Concepts
Glossary, file layout, and how the pieces relate
Manifest reference
Every field in
manifest.json, the source of truth for an agent’s configHTTP API
Auth model and endpoint reference for building against the platform
Troubleshooting
What to do when something doesn’t work
Issues & Boards
Assign work on a kanban board and review the diff
Templates
Deploy a pre-built agent in one click
Channels
Let people talk to your agent on Telegram, Slack, or Discord
Skills
Add capabilities — IPFS storage, memory, on-chain identity, more
Routes
Expose a web app or API from inside the agent